3D Chocolate Painted Basket
How to make a 3D Chocolate Basket
We have many 2 piece basket molds that can be made to hold desserts, candy, and for centerpieces at a dinner table for easter.
These steps will help you understand the process of making a "shell" of chocolate, leaving the inside open like a bowl.
We have Large baskets that could hold childrens eggs and candy and small baskets that could be used for dessert mousses and fruit.
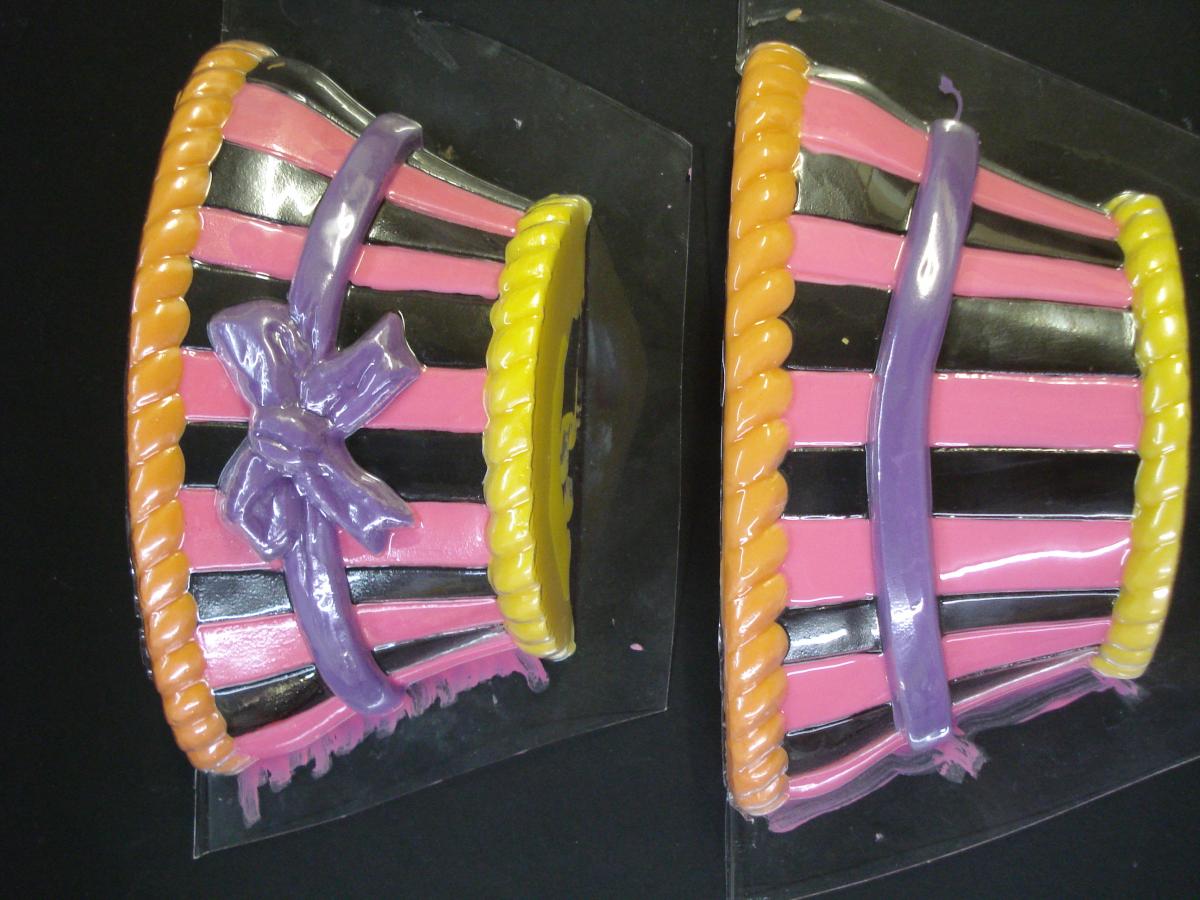
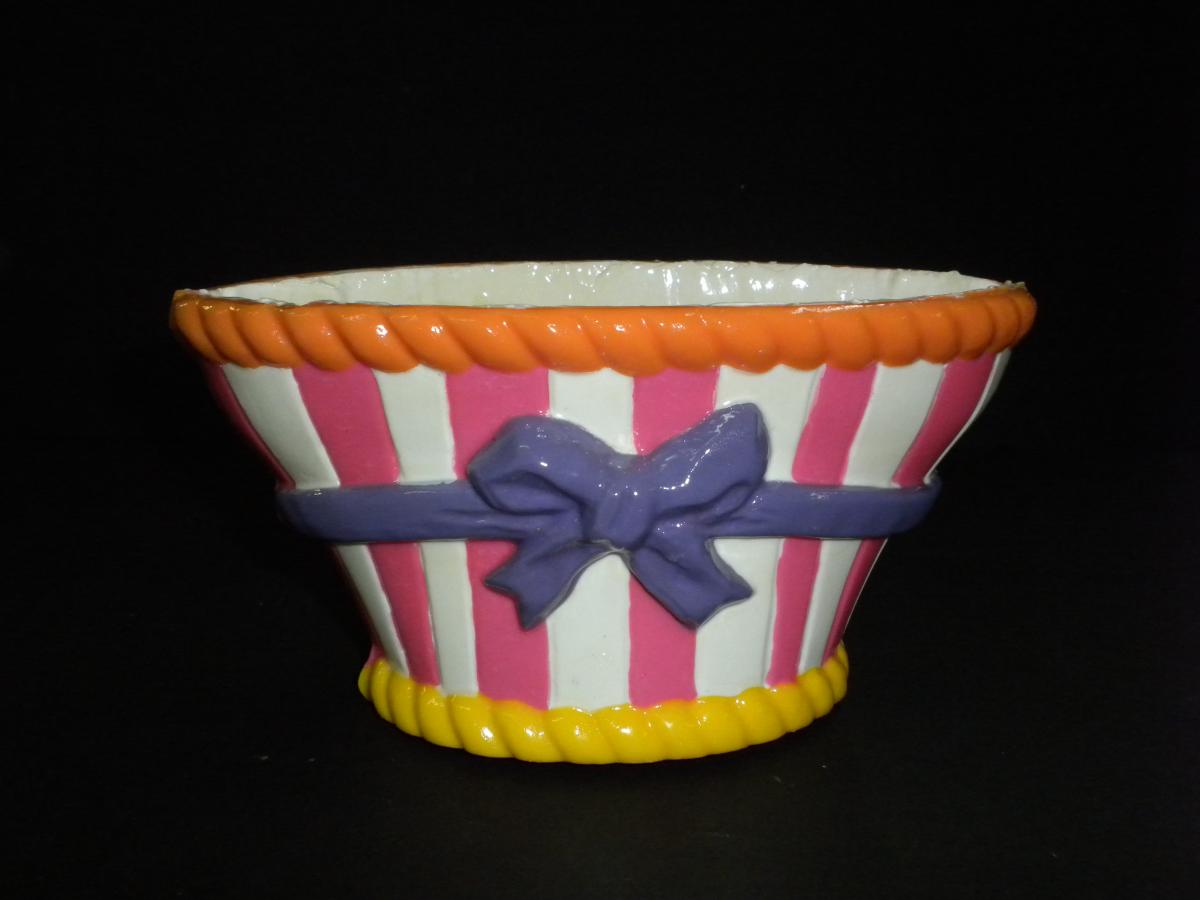
When making a basket that has alot of details you may want to paint sections with colors.
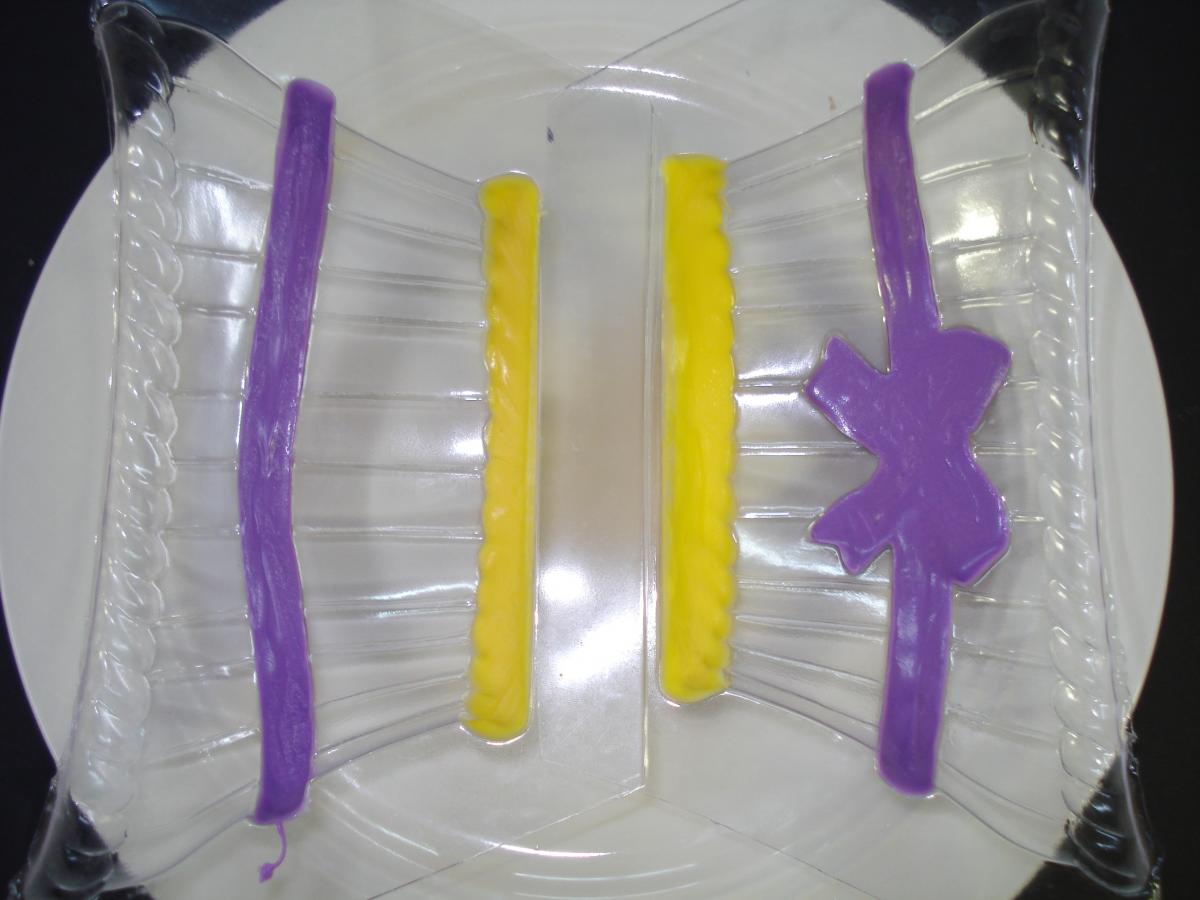
Always paint the LOWEST section of the mold first and paint things that arent touching one another so that they have time to set before moving on to the colors that intersect because if they arent hard they will bleed or run into each other.
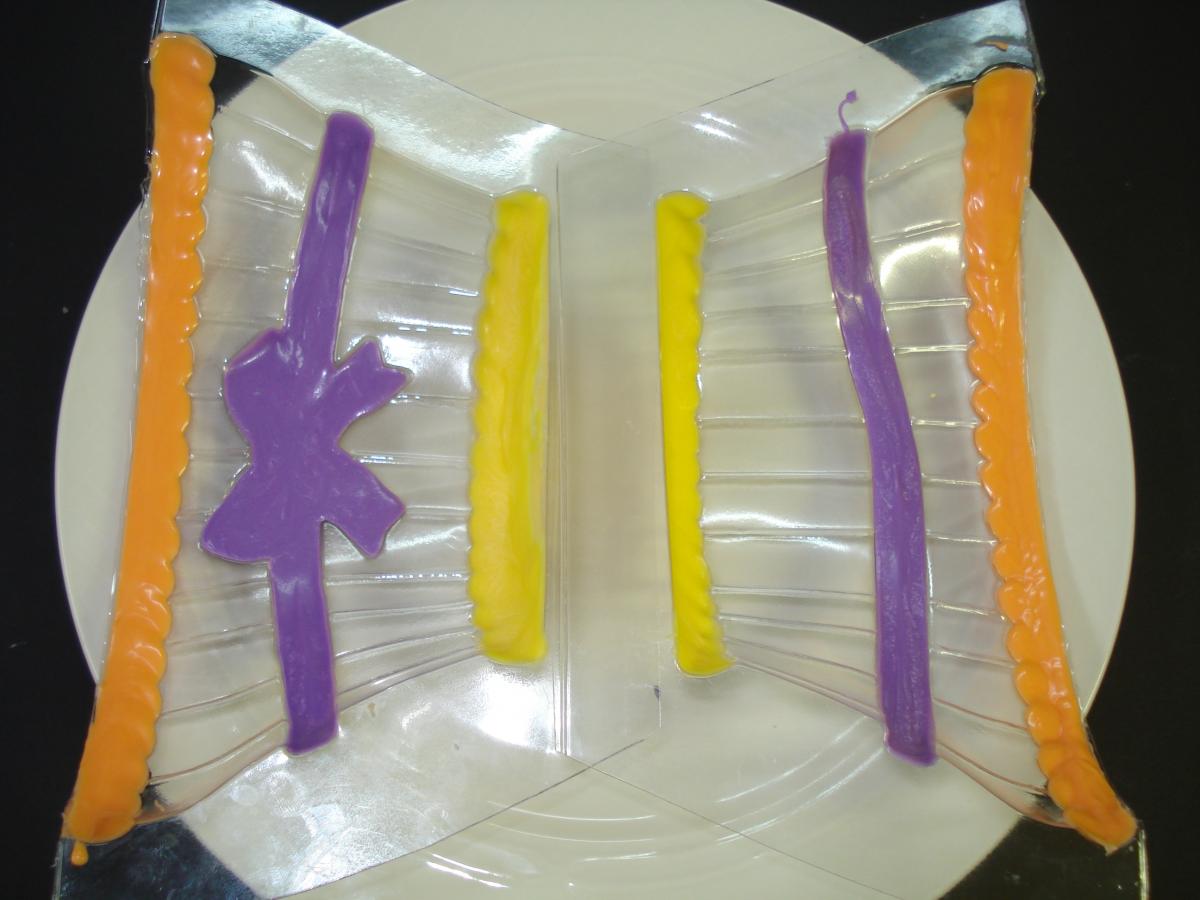
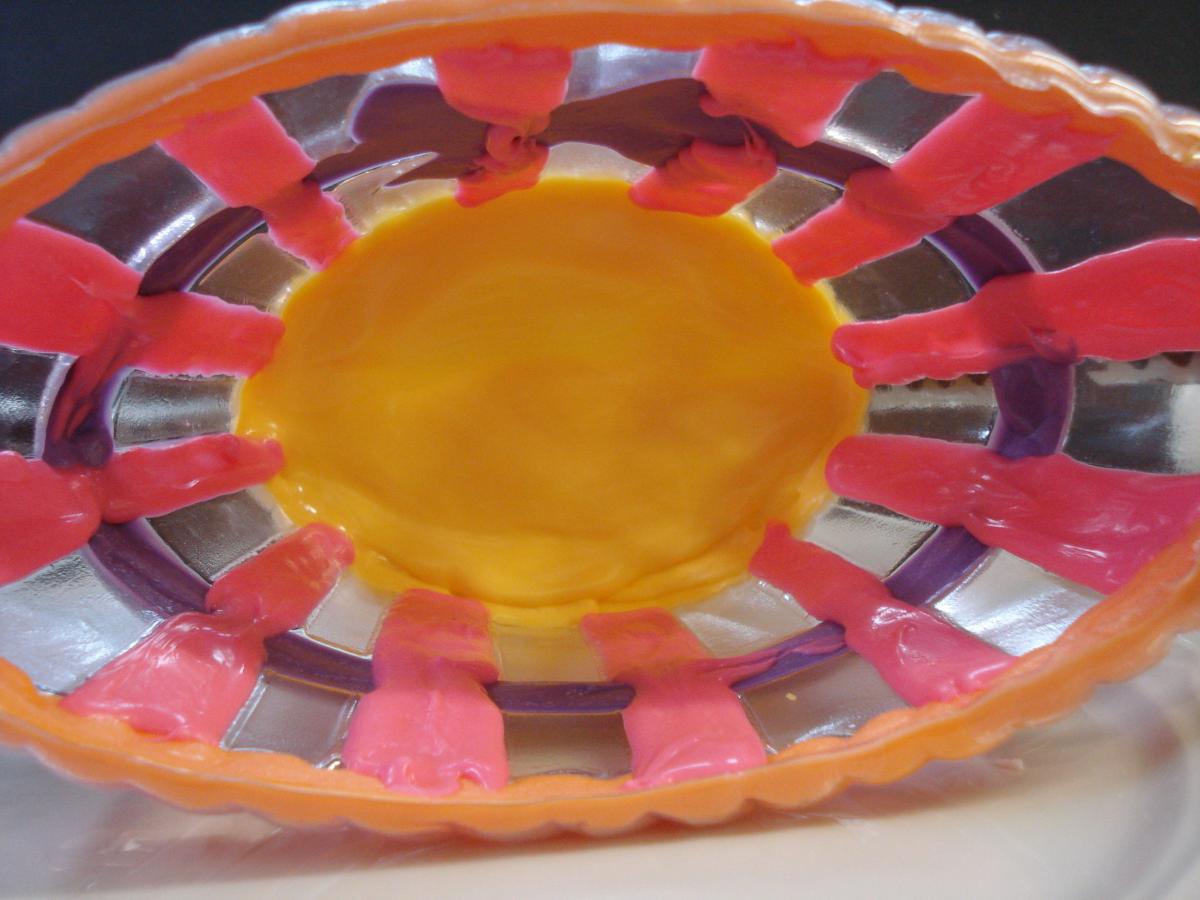
Here I painted all the Parallel lines that ran horizontally on the basket and now that they are hard I will move on to the verticle stripes.
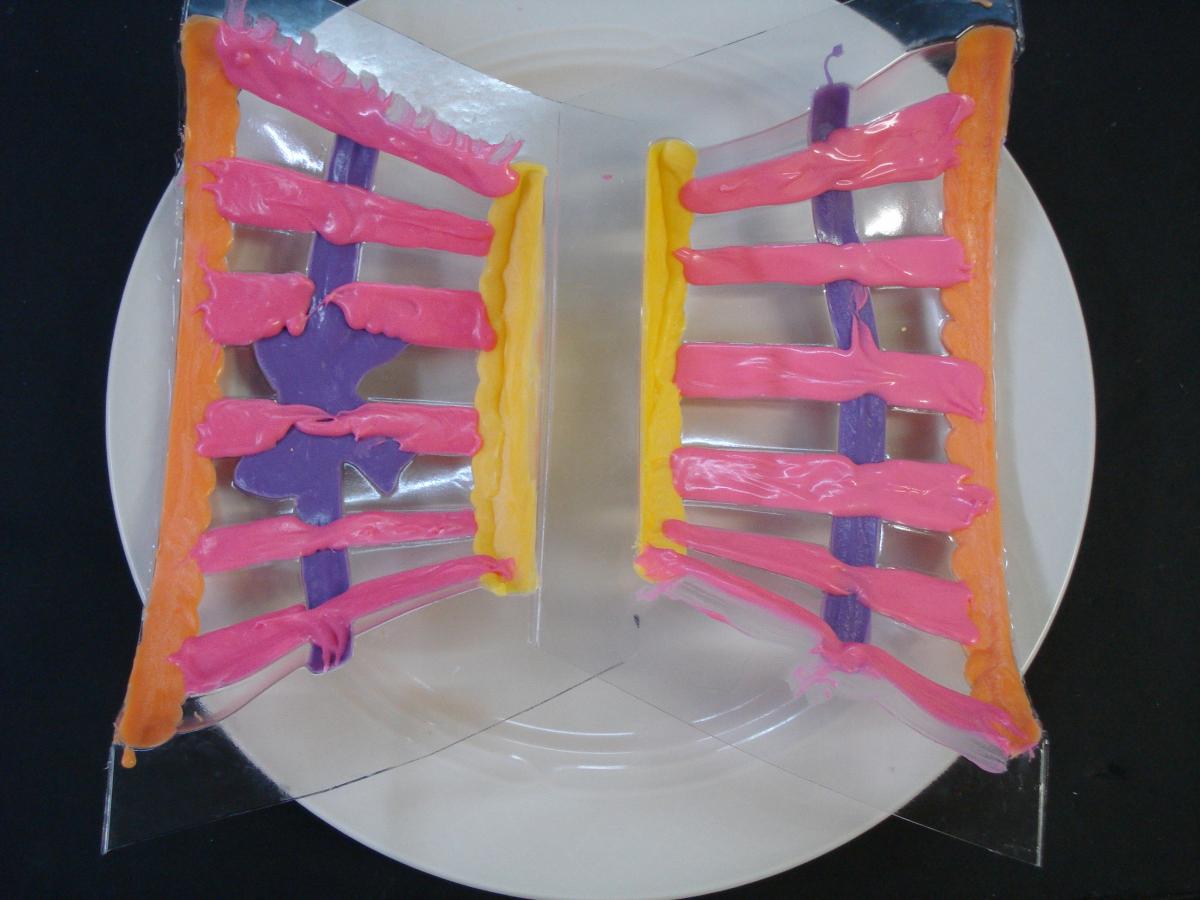
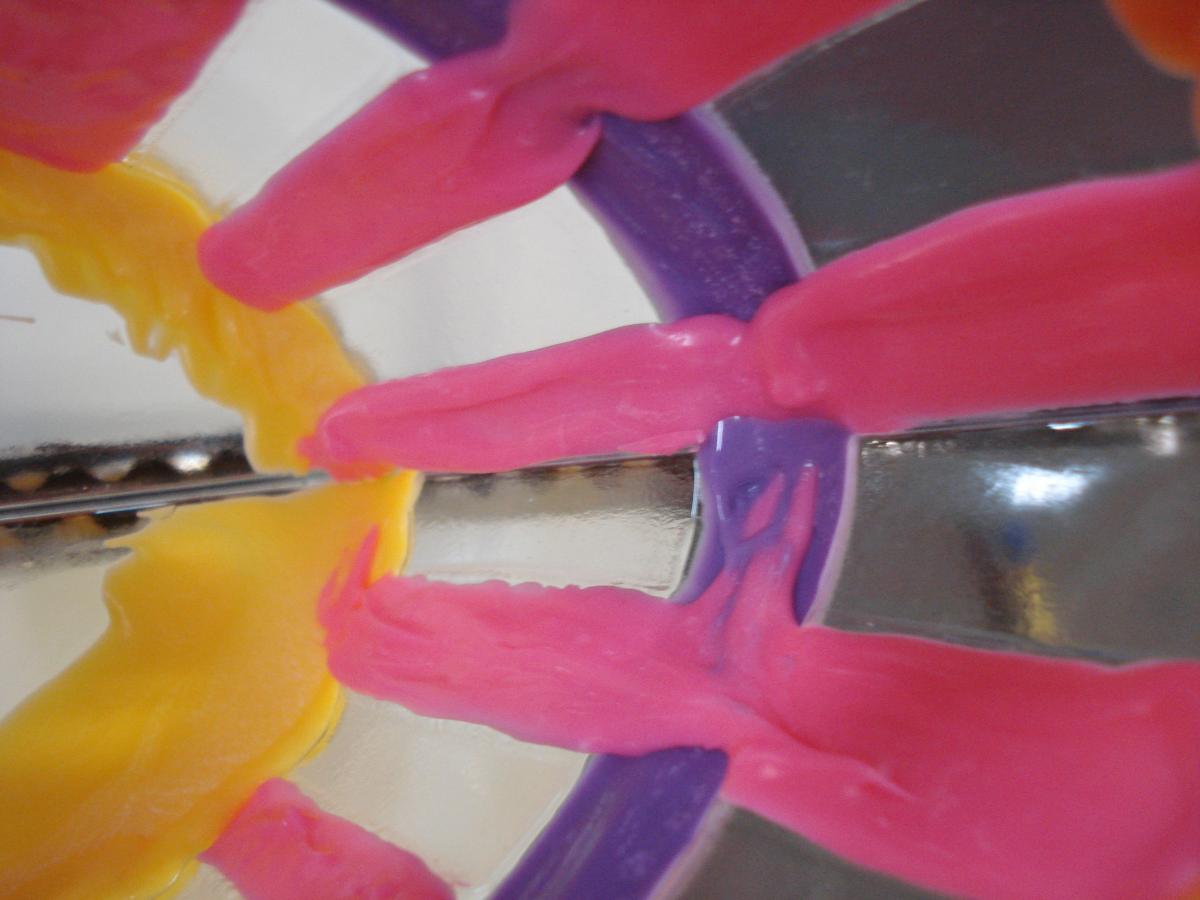
I have now painted the stripes and i like to use a tooth pick to draw the chocolate close to the edge.
Paintbrushes will work also but are not ridged and when you need to make straight edges or tiny details toothpicks work best.
You will notice that the Pink stripes that are along the edges I brushed the pink out toward the side of the mold.
I did this so that when I fill it with the backing color when the mold is set and i need to trim the seam i wont be cutting into the second color layer.
Do not make the chocolate too thick at the edge or the mold will not seal tightly and the other color will run into it anyway.
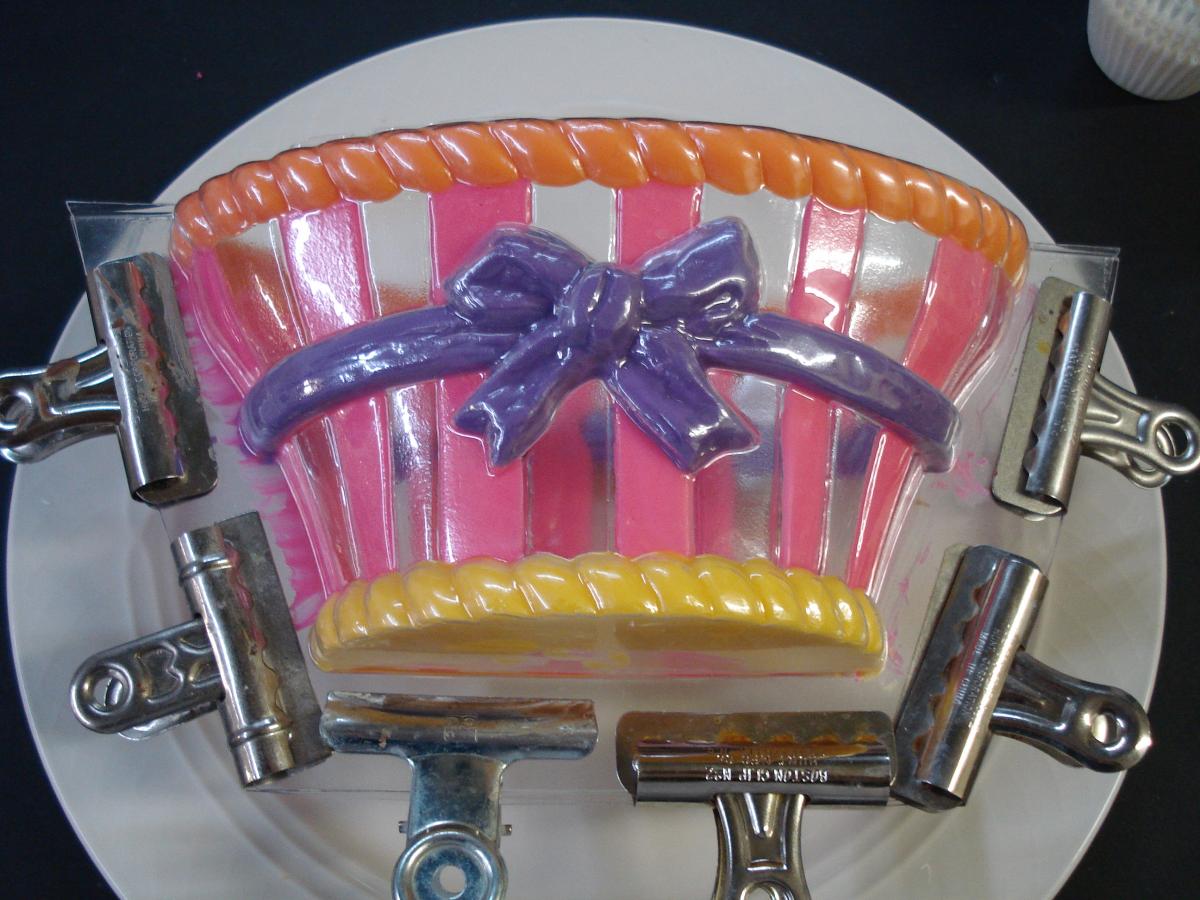
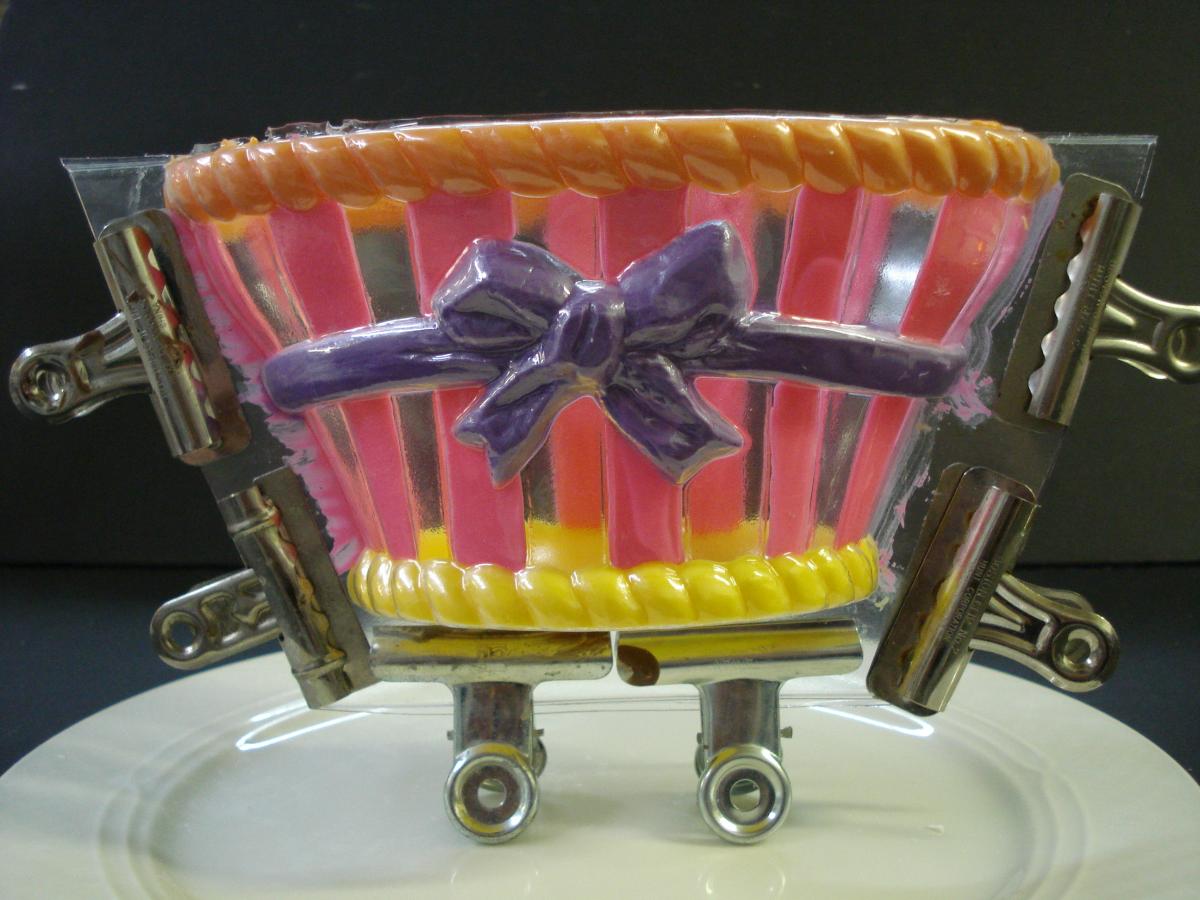
When you put the mold together use as many STRONG clips as possible to allow a tight seal and this will prevent large seams and seepage.
On the edges Make sure to fill in any color that would continue around the mold. In this instance the orange and yellow horizontal banding.
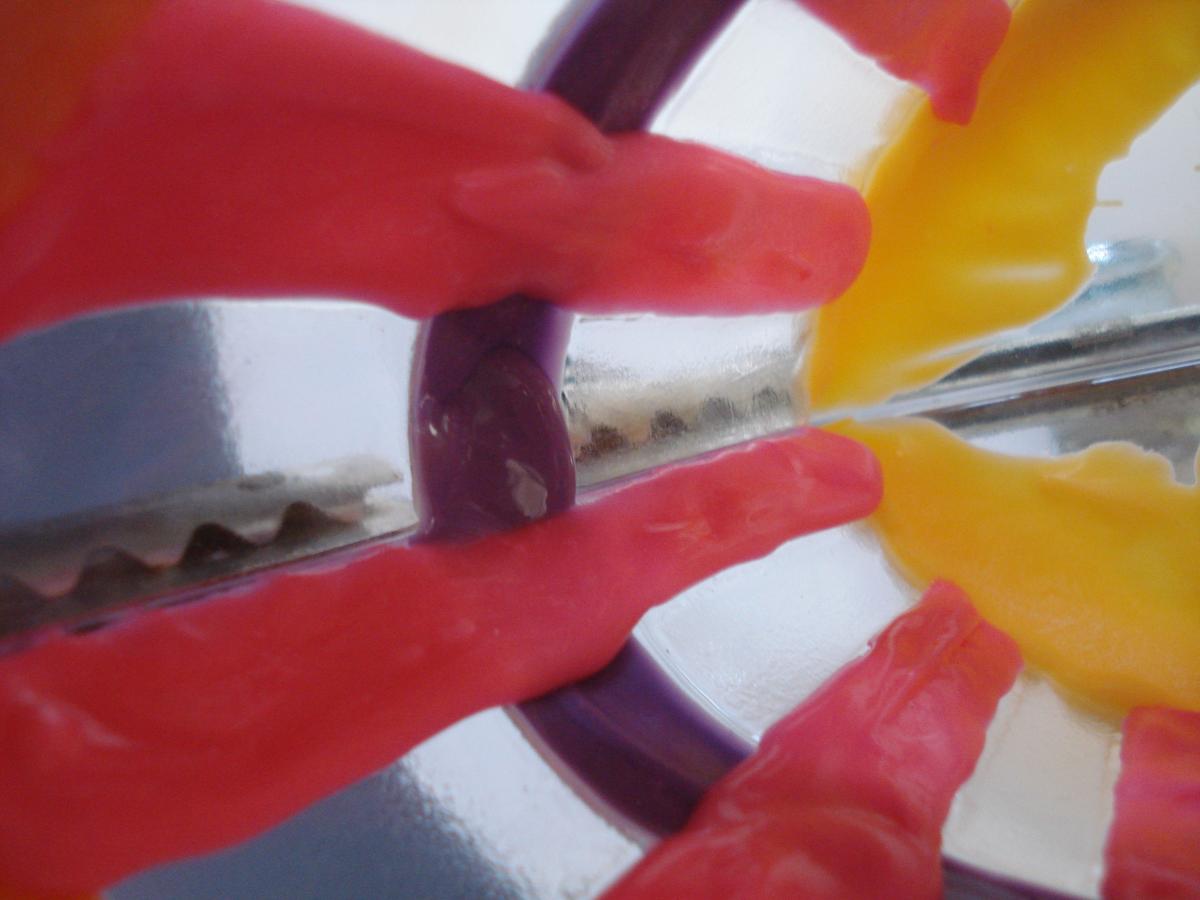
Now is the best time to trim up any curving lines on your stripes. Use an exacto knife or your handy toothpick to make the wobbles straight, but do not push too hard because you may seperate the color from the mold and your backround color will seep in front of it.
Fill the bottom of the mold. It is ok to make this thick. You want the bottom to be heavy so that it does not tip over when on a table.
Make sure you stand the mold up after filling the bottom so that it hardens level.
Ok, that May seem like alot of work but you dont HAVE to make it all those crazy colors! If you are a beginner maybe try just the ribbon and bow first.
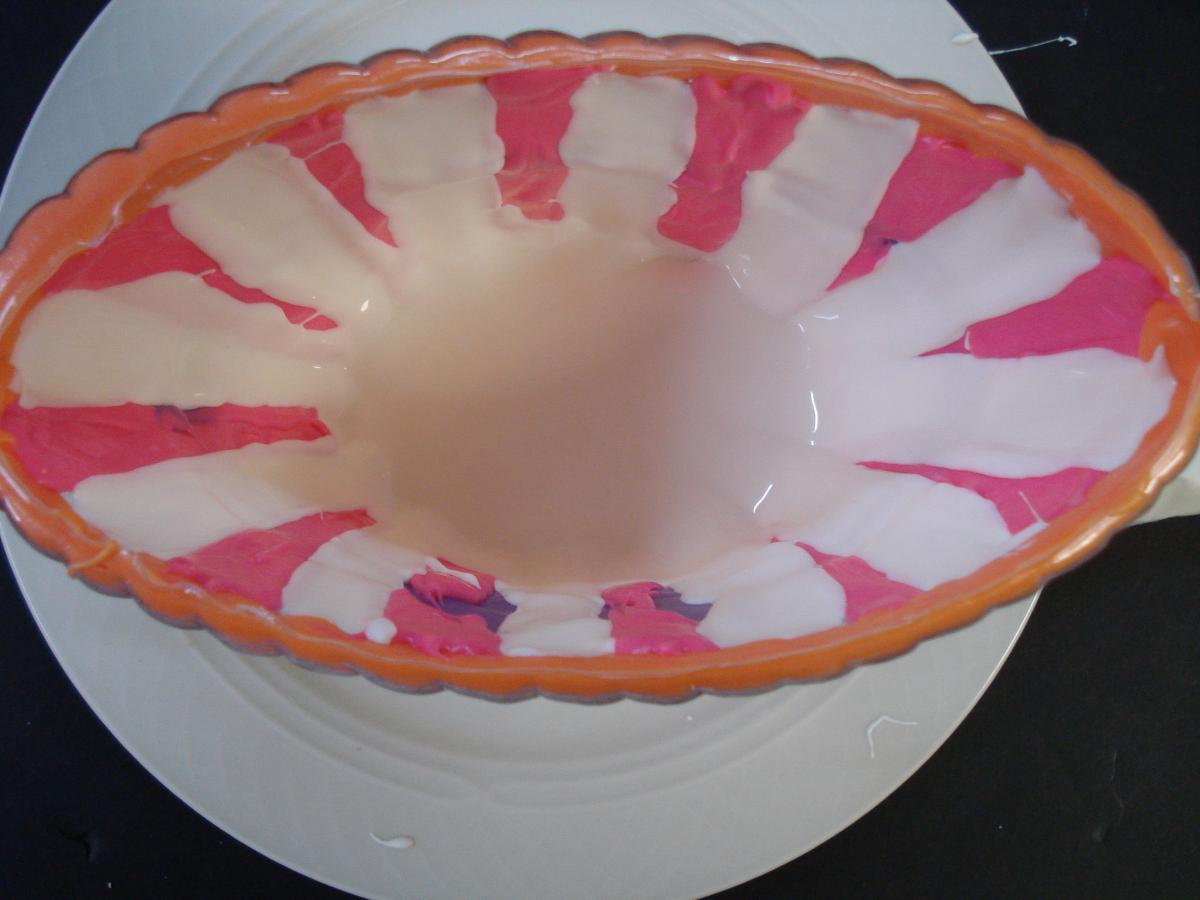
Now you want to put your background color in the sections that are still empty first.
Make sure that your chocolate is NOT HOT, If it is too warm it will remelt the other colors and they will run.
As you apply the color make sure that you are putting it along the edge of the other color first and then working inward.
This process will keep the color from running into the new stripe.
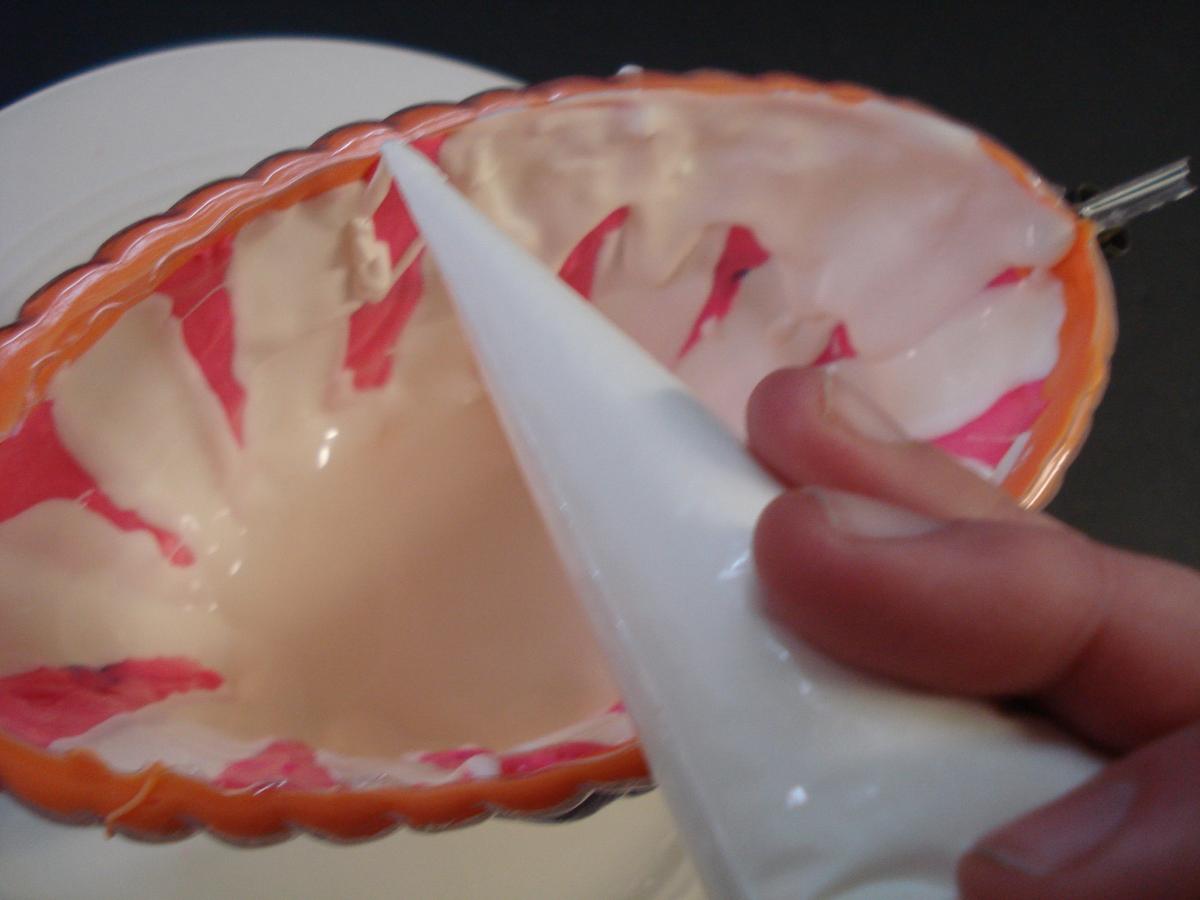
Now run your bag around the top edge and let the chocolate run down the mold.
AGAIN - do not use HOT chocolate for this step. It should almost be at the point where it wants to set up again.
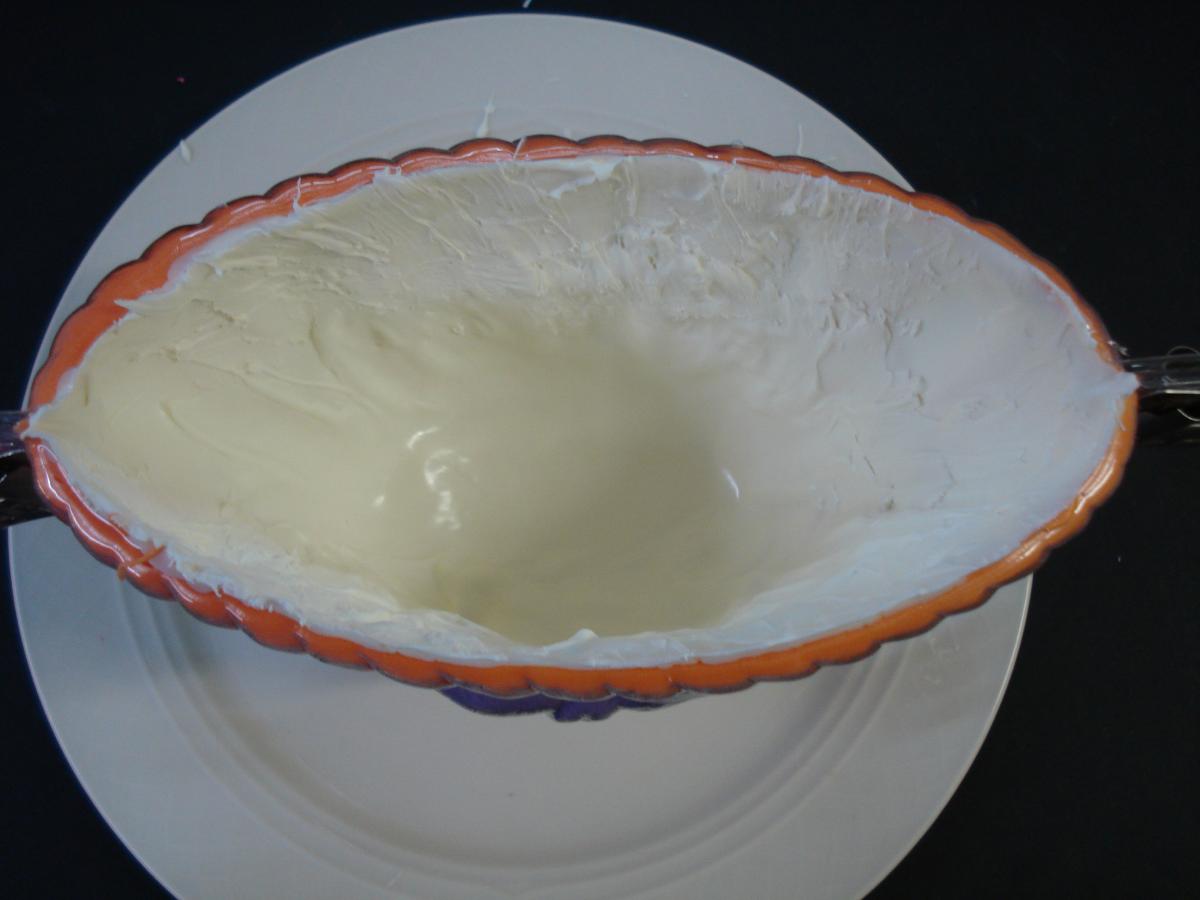
When the chocolate rim is complete and it has oozed down the mold you will have a large pool at the bottom and the top will have thinned considerably.
Use a very WIDE paintbrush and bring this pool up the sides of the mold.
The temperature of the chocolate should be so low now that it will harden almost instantly when it gets to the top.
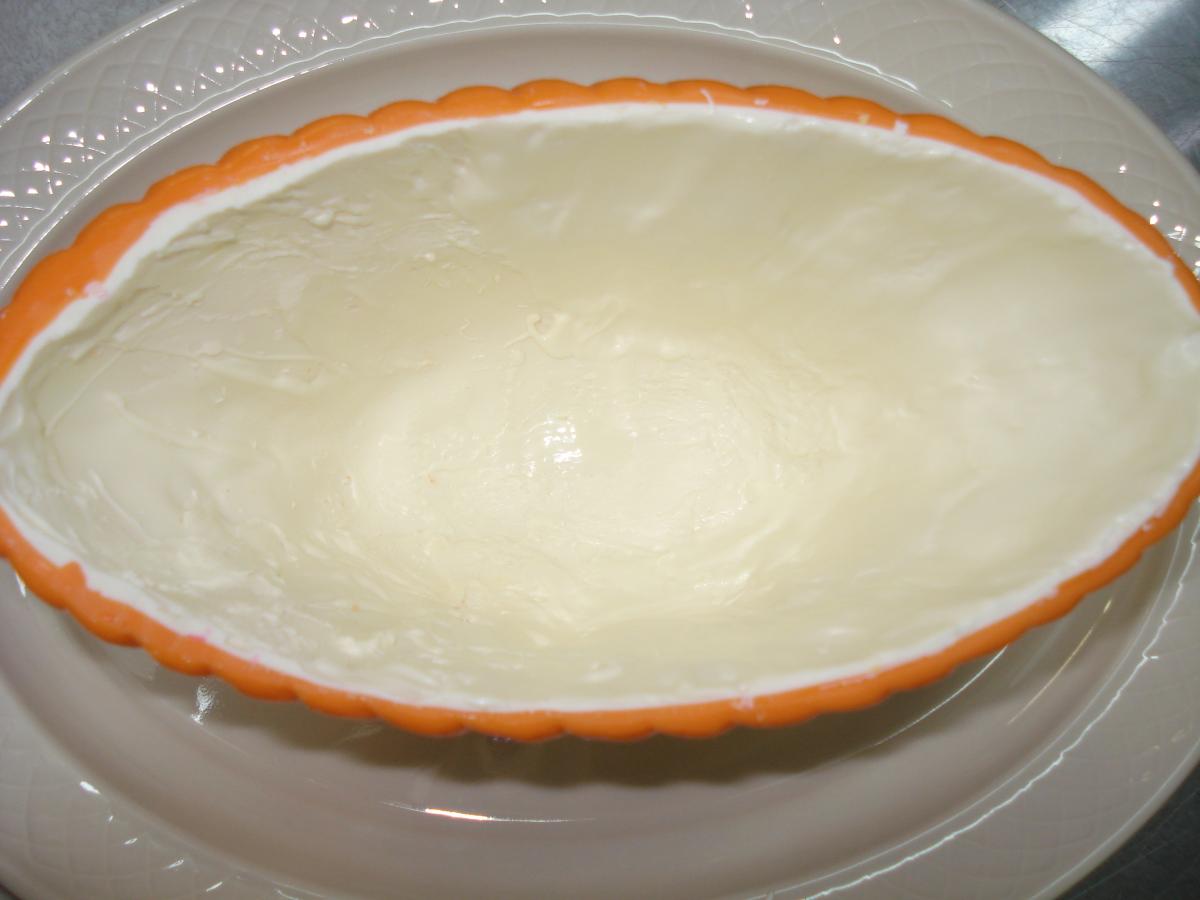
You can take a spatula and smooth any clumps that may have gatheres from the brush and then take the final step of putting one last rim of melted chocolate all the way around and it will make a nice smooth finish.
Some People have used a hair dryer for this step on low, but I recommend getting one last coat to make the walls stiffer.
The final step IS THE TRICKIEST PART! You want to put the mold in the freezer to get the highest shine possible. (the refrigerator will make chocolate sticky because of the humidity and it will not have HIGH GLOSS)
BE CAREFUL! Do not multi task during this portion because we just did ALOT of painting and work to make this basket beautiful and if you leave the mold in the freezer too long IT WILL CRACK!!
I recommend checking it after 30 second intervals. Remember, the chocolate was mostly set when you made the mold. You only want to make the mold hard and shrink the chocolate away from the mold.
Once you see air seperating the chocolate from the plastic take it out and remove the mold.
Use an exacto knife to clean up the top edge and remove the seam from the sides.
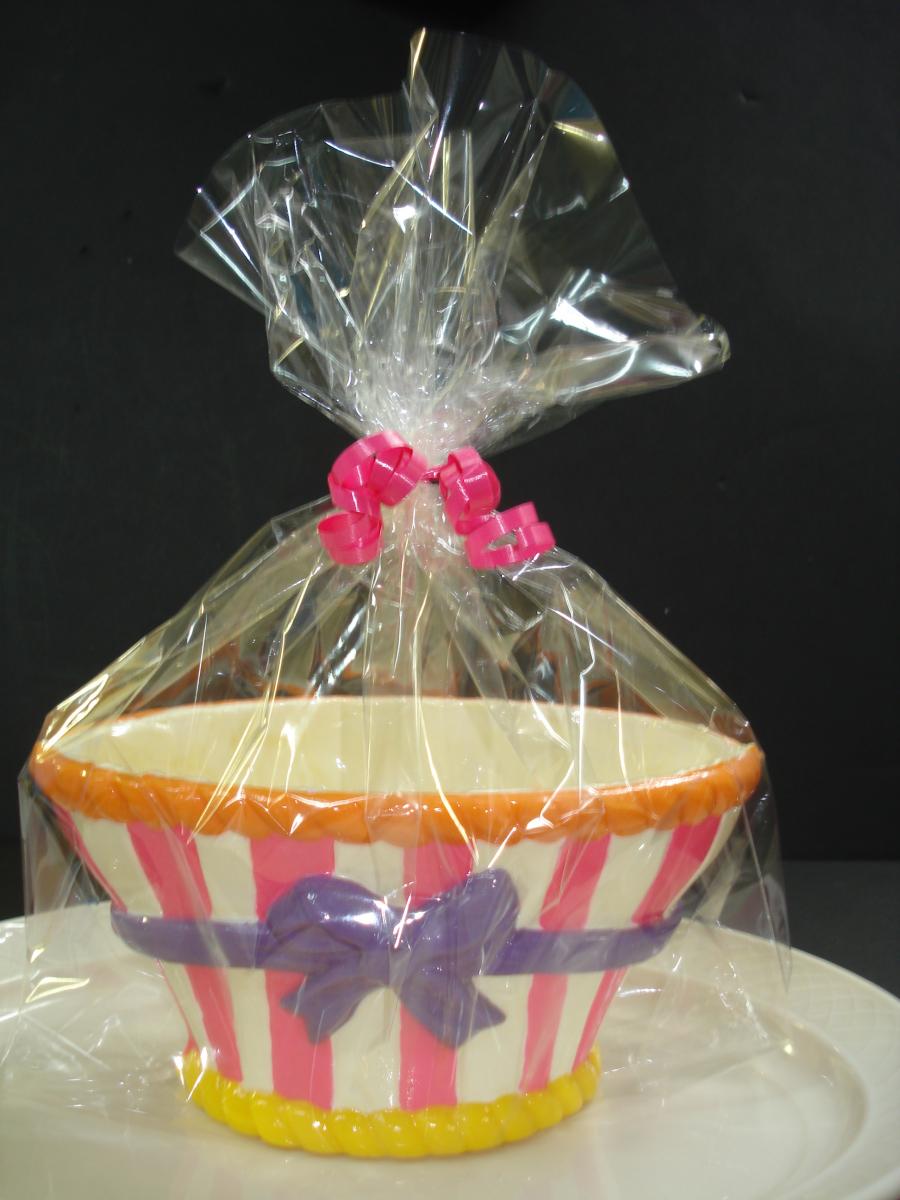
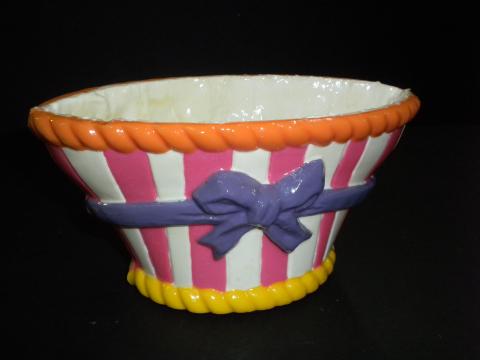
Voila! Congratualtions! you just made an AWESOME BASKET!